Pimple Pop Clinic Controls
Platform expectations for a satisfying Roblox ASMR pop clinic.
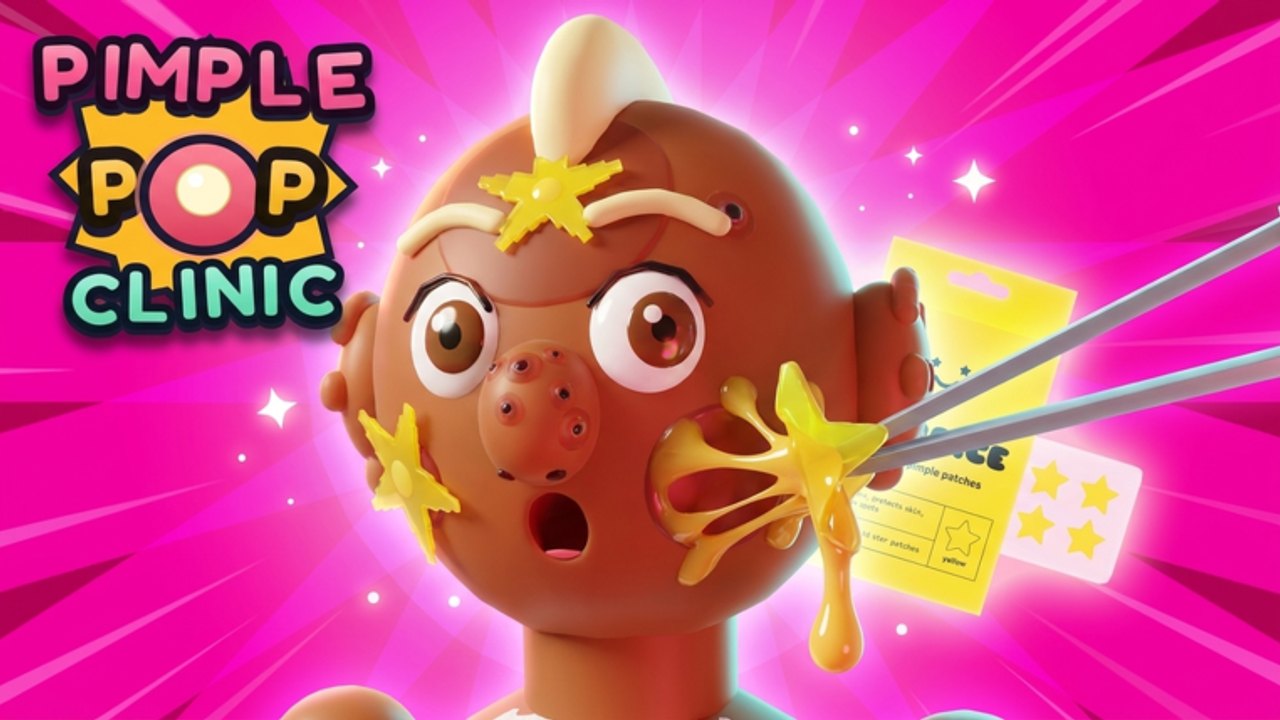
This Controls guide explains how to steer Pimple Pop Clinic on Roblox without pretending Injusted published a fake universal keybind sheet. The game is a free-to-play pop-clinic / incremental sim: you move through a decorated workplace, treat patients, open shop and collection menus, and occasionally host friends as patients. Exact face-button labels and tap targets can shift after patches, so learn patterns first, then confirm the live prompt text on your device.
Pair this page with How to Play for session flow and Getting Started if you are still unlocking HUD buttons.
Honest disclaimer about “official” binds
Roblox experiences inherit platform defaults and can remap interact actions per update. Screenshots from launch week (26 October 2026) may disagree with a mid-November build. When this guide says “typical,” it means common Roblox + clinic-UI behavior—not a warranty that every server uses the same letter forever. If an on-screen prompt disagrees with memory, trust the prompt.
Shared control pillars (every device)
Regardless of PC, phone, tablet, or console, clinic mastery uses the same five pillars:
- Locomotion — reach patients, stairs between floors, shops, and furniture placement spots.
- Camera — frame the zit clearly so timing and ASMR satisfaction stay readable.
- Treat / interact — trigger the pop or care action when the game highlights a target.
- Menus — shop, pets, Dex, codes, settings, and social panels.
- Social awareness — servers hold up to eight players; friends may visit as patients while you host.
If any pillar feels broken, fix UI scale and rejoin before assuming the place is soft-locked.
PC expectations
On keyboard and mouse setups, players usually rely on standard Roblox movement plus click targeting:
- Move with the familiar WASD-style locomotion Roblox provides on PC.
- Look by dragging the camera; keep the patient centered before a careful pop.
- Interact / treat by clicking highlighted pimples, prompts, or world buttons when they appear.
- Jump / climb only as needed to clear short obstacles—do not parkour through treat lanes.
- Menus open from on-screen HUD icons; use the mouse to confirm purchases and pet actions.
PC advantages: precise clicks on tiny glittery targets and easier multi-window wiki reference (Tools). PC risks: over-clicking through a treat minigame and skipping the satisfying cadence the genre sells.
When decorating across three floors, use the mouse to preview placement collisions before confirming. Pathing mistakes are harder to notice on a wide monitor if you never walk the route yourself—see Clinic Decoration.
Mobile and tablet expectations
Touch is the most common way players meet Pimple Pop Clinic. Expect:
- Virtual joystick / tap-to-move for locomotion, depending on your Roblox movement mode.
- Pinch / drag camera gestures so Bubblegum- or Glitter-style targets stay large enough to hit.
- Tap prompts for treat actions; fat-finger misses are normal—zoom first, tap second.
- HUD crowding near notches; open Roblox settings and raise UI scale if Codes or shop icons vanish into corners.
- Portrait vs landscape tradeoffs: landscape usually helps clinic sightlines; portrait can bury side buttons.
Mobile tip sheet:
- Clean the screen before a MEGA-style showcase so glitter reads clearly
- Disable aggressive battery savers that tank frame pacing mid-pop
- Use headphones if you care about the ASMR-adjacent audio fantasy
- Pause furniture edits when thumbs feel cramped; precision placement is easier after a break
If friends join while you are on mobile, announce that your tap accuracy is slower so they do not assume you are ignoring Zenith callouts.
Console expectations
Controller play follows Roblox console conventions more than a custom fighting-game layout:
- Left stick for movement through lobby, stairs, and treat stations
- Right stick for camera framing on patients and pets
- Face buttons for jump / interact / confirm—read the on-screen legend after each patch instead of memorizing a wiki guess
- Shoulders / triggers sometimes cycle tools or menus in Roblox experiences; verify live
- Menu button cluster for Roblox system overlay vs in-experience HUD
Console strengths: comfortable long sessions and stable framing for co-op tours. Console friction: smaller text on some TVs and harder precise UI clicks inside dense shop grids. Sit closer or raise text scale when managing pets or furniture catalogs.
After maintenance, spend thirty seconds confirming which face button currently triggers interact. Updates may not spell out remaps even when a UI refresh lands.
Clinic-specific UI patterns
Beyond generic Roblox movement, pop-clinic play adds specialty surfaces:
Patient / treat surface
Approach the patient, wait for highlights, then trigger the treat interaction. Timing and completeness usually beat panic mashing. Camera height matters—glitter bombs and swirl-gunk MEGA moments deserve a clear close frame.
Collection / Dex surface
Open the Pimple-Dex style tracker when you need to see what is still missing. Do not try to memorize every silhouette during a chaotic eight-player lobby.
Pets surface
Pet menus typically sit behind a dedicated HUD entry once unlocked. Equip or manage companions without blocking the treat lane. Deep spending advice lives outside this controls page; keep input focus here.
Furniture / build surface
Decoration tools let you place roughly 25 furniture pieces across three floors. Enter build intent deliberately, place, then exit back to locomotion so you do not trap yourself in edit mode while a rare patient spawns. Layout strategy: Clinic Decoration.
Codes / rewards surface
When enabled, expect a text field plus confirm control. None are confirmed working yet, but knowing where the field will live saves panic—see the redeem guide when you need the full checklist.
Camera discipline for ASMR clarity
Good controls are half camera hygiene:
- Frame the zit before committing the treat action
- Avoid extreme dutch angles that hide prompt text
- On co-op showcase nights, leave space in the shot for visiting friends
- Recenter after sprinting upstairs so you do not treat the wrong patient silhouette
If motion sickness hits on console or high FOV PC, lower sensitivity and take shorter rarity blocks.
Co-op control etiquette
Hosting with friends-as-patients changes input priorities:
- Call out when you enter furniture edit mode so nobody walks into a half-placed piece
- Do not spin the camera through someone’s treat animation for a meme clip without asking
- Keep chat macros short; you still need thumbs/fingers free for pops
- If a guest is on mobile and you are on PC, let them take clearer angles on silly zits when possible
Max eight players means crowded stairs. Walk polite routes; controls include social spacing.
Accessibility and comfort toggles
Use Roblox client settings aggressively:
- UI scale for readable prompts
- Volume balance so treat cues are audible without blasting music
- Graphics quality that keeps particle glitter readable without melting a phone
- Shift-lock / movement mode preferences on PC if you prefer them for straight clinic corridors
Comfortable inputs create longer clean sessions, which matters more than any mythical “secret bind.”
Troubleshooting sticky controls
| Problem | Try this |
|---|---|
| Cannot interact | Rejoin, finish tutorial flags, look for on-screen prompt text |
| Menus missing | UI scale up; check after patch notes on Updates |
| Camera fights you | Reset character, lower sensitivity, avoid colliding with furniture |
| Mobile taps miss | Zoom in, wipe screen, switch to landscape |
| Console confirm confused | Re-read face-button legend; do not trust old memory |
| Edit mode trap | Find cancel/exit on the furniture UI, then walk a clear path |
If someone DMs an “unlock all controls” script, refuse—input fixes never require malware (related risk notes live on the Scripts hub).
Practice routine (ten minutes)
- Walk floor one without treating—pure locomotion warm-up.
- Frame three everyday patients and treat them slowly.
- Open and close shop, pets, and settings once each.
- Climb toward upper floors if unlocked; note stair camera catches.
- Place or nudge one furniture piece, then exit edit mode cleanly (Clinic Decoration).
- End by reviewing session goals on Tools.
Repeat whenever a patch rearranges the HUD.
Where to go next
- Loop and rarity mindset: How to Play
- Day-one unlocks: Getting Started
- Build mode purpose: Clinic Decoration
- Planners and trackers: Tools
Master movement, camera, treat prompts, and menu exits. Everything else in Pimple Pop Clinic—Dex hunts, pet flex, Zenith panic, three-floor tours—rides on those four habits staying calm under glitter.
Frequently Asked Questions
Quick answers about codes, pets, Zenith Zits, and clinic setup.
What are the official Pimple Pop Clinic keybinds?
Injusted has not published a single forever keybind sheet that fits every device. Follow on-screen prompts and standard Roblox movement for your platform.
Do mobile controls work well for popping?
Yes—raise UI scale, use landscape when possible, zoom before tapping glittery targets, and keep the screen clean for precision.
How do console players confirm interact?
Use the face-button interact shown in the live on-screen legend. Recheck after patches instead of memorizing an outdated wiki guess.
Why can’t I find shop or codes buttons?
Tutorial gates, UI scale, or a patch rename may hide them. Finish early prompts from Getting Started and rejoin a fresh server.
What should I practice first?
Locomotion, camera framing, clean treat prompts, and exiting furniture edit mode. Then deepen session flow in How to Play.